Calculate Your Balcony Solar Light Requirements Precisely
By Maya Lindstrom • 6th May
The Problem Nobody Wants to Admit
You stand on your balcony at dusk, scrolling through solar light listings, and feel that familiar uncertainty settle in. One product promises "8 hours of runtime." Another boasts "200 lumens." But neither tells you what you actually need to know: Will this light work on my north-facing balcony? How many lights do I need? Will they survive December?
Balcony solar light requirements and small space lighting calculations feel deceptively simple until you realize that cookie-cutter recommendations don't fit tight urban geometry, shade from neighboring buildings, or the shortened days of winter. Most balcony owners guess, buy too many lights that clash with their carefully chosen furnishings, or worse, underestimate and end up with a dim, unusable space come November.
The real challenge isn't finding solar lights. It's knowing exactly what your confined space needs so you invest once, confidently, and create a gathering spot that glows warmly without blinding your neighbors or eating your budget.
The Agitation: Why Ballpark Guessing Fails
I spent years watching homeowners and renters repeat the same mistake. They'd buy a pair of solar stake lights on impulse, place them randomly, and six weeks later discover that winter cloud cover dropped the runtime from eight hours to three, or that the lights sit in shade half the day because they didn't account for a building shadow.
The frustration deepens when you realize that balcony spaces (decks, patios, narrow ledges) are fundamentally different from ground-level gardens. You're working with:
- Severely limited footprint: A typical balcony is 8×10 feet or smaller
- Vertical constraints: Fixtures can't sprawl; they must stack neatly on railings or corners
- Shade complexity: Neighboring structures, overhangs, and trees cast shadows that shift with seasons
- Reflected light concerns: Hard surfaces bounce light in unexpected directions, sometimes creating glare that no neighbor appreciates
- HOA or light-trespass sensitivities: In close quarters, an improperly aimed light becomes everyone's problem
When you guess rather than calculate, you either end up with a patchwork of mismatched lights (some performing well, others dimly guttering), or you overbuy and clutter a space that's already tight. I remember one evening standing on a friend's balcony, watching a glaring overhead fixture wash out the view while casting sharp shadows across her small dining table. A few weeks later, after she replaced it with three warm, low markers tucked into planter corners, everything changed. We could see the steps, enjoy conversation without squinting, and her neighbors didn't complain. That shift from harsh guesswork to thoughtful precision stayed with me.
Understanding Your Baseline Metrics
Lumens and Task Lighting
Lumens measure visible light output, the actual brightness you perceive. But the number alone is misleading. A 200-lumen fixture pointed directly at you is glaring. The same 200 lumens diffused across a deck railing feels warm and gentle.
For urban balcony illumination, think in terms of task and accent. Are you lighting for:
- Task: Safe footing on steps, reading on a chair, pouring a drink at a small table (20-50 lumens per fixture, focused)
- Accent: Highlighting a potted plant or water feature (5-15 lumens, subtle glow)
- Ambient mood: Gentle overall glow for a gathering (distributed across multiple low-output sources)
Most balcony scenarios call for less total lumens than you'd think, distributed across more fixtures at lower brightness each. This is the opposite of the instinct to buy one bright light, but it honors the space and respects your neighbors' peace. Light the task, not the sky.
Color Temperature and Perception
Warm fixtures (2700K and below) feel inviting on tight spaces. Cool white (4000K+) can read as clinical or, worse, create visible glare on small balconies where light bounces off railings and walls. The warmth also signals intentionality: you've chosen mood over mere brightness.
The Calculation Framework
Step 1: Map Your Sun Exposure
Your solar panel's daily charge depends on direct sunlight hours. On a balcony, this is tricky because microclimate is everything. If your shade is patchy, learn how dappled shade affects charging so your calculations reflect real conditions.
- South-facing, open: 4-6 full-sun hours per day (ideal)
- West or east-facing: 3-4 hours of afternoon or morning sun
- North-facing or heavily shaded: 1-2 hours, often dappled
- Winter in northern latitudes: Cut these estimates by 30-50%
Walk your balcony at 10 a.m., noon, and 3 p.m. on a cloudy day. Where does direct sun land? How long does it linger? This rough observation beats any online tool because it's your microclimate, shaped by your building's aspect, neighboring structures, and the trees nearby.

Step 2: Define Your Desired Runtime
How long do you actually want light?
- Evening gatherings (5 p.m. to 10 p.m.): 5 hours
- Late-night safety (dusk to midnight): 6-7 hours
- Year-round reliability, even winter: Add 1-2 hours buffer to account for cloudy stretches
Don't aim for "all night." That's neither practical with solar nor necessary. A well-lit balcony from dinner through early evening is the honest goal, and the one you'll actually achieve.
Step 3: Calculate Battery Demand
Each light needs enough stored energy to run for your target duration. Here's the math:
Example:
- Target runtime: 6 hours (accounting for November-through-January reality)
- Single fixture: 40 lumens (warm, diffused)
- Typical LED draw: ~0.5 watts per 40 lumens
- Energy needed = 0.5 watts × 6 hours = 3 watt-hours per fixture
Most quality balcony solar lights carry 800-2000 mAh batteries (roughly 3-7.5 watt-hours). A 1500 mAh battery can theoretically power a 0.5-watt LED for 6 hours, but only if the solar panel charged it fully that day.
In reality, assume 60-70% effective charging during winter. So that 1500 mAh battery is more like 4.5 watt-hours usable in December. Divided by your runtime needs, you need a panel that delivers enough charging current. This is where many online specs mislead: they assume perfect summer conditions.
Step 4: Right-Size Your Solar Panel
The panel's wattage must match your battery's capacity and charging window. For the math behind panel-to-battery ratios, see our panel size guide. Think of it as a refueling station; it needs to pump enough charge into the battery during your available daylight hours.
- Small fixtures (1-1.5W panel, 800-1200 mAh battery): Charge in 4-5 sunny hours; run for 4-6 hours
- Medium fixtures (2-2.5W panel, 1500-2000 mAh battery): Charge in 3-4 hours; run for 6-8 hours
- Larger fixtures (4W+ panel, 2500+ mAh): Charge in 2-3 hours; run for 8+ hours, even in winter
For space-constrained garden lighting, smaller is usually smarter. You're aiming for elegant restraint, not maximum output. Two or three perfectly sized fixtures beat one oversized, glaring source every time. We tested compact options in real balcony conditions—start with our balcony lights for winter & shade to shortlist reliable models.
Step 5: Count Your Fixtures
Now multiply:
Number of fixtures = Total desired lumens ÷ Lumens per fixture
Real example for a 10×8 foot balcony:
- Desired ambient glow: 120 total lumens
- Warm, diffused fixture: 40 lumens each
- Number needed: 120 ÷ 40 = 3 fixtures
This gives you breathing room. Three sources at low brightness create a cohesive glow without hot spots or glare. If one underperforms on a cloudy week, the other two carry the mood. If you'd bought one 120-lumen fixture instead, you'd have a harsh beacon and an angry neighbor.
Practical Considerations for Confined Spaces
Placement Strategy
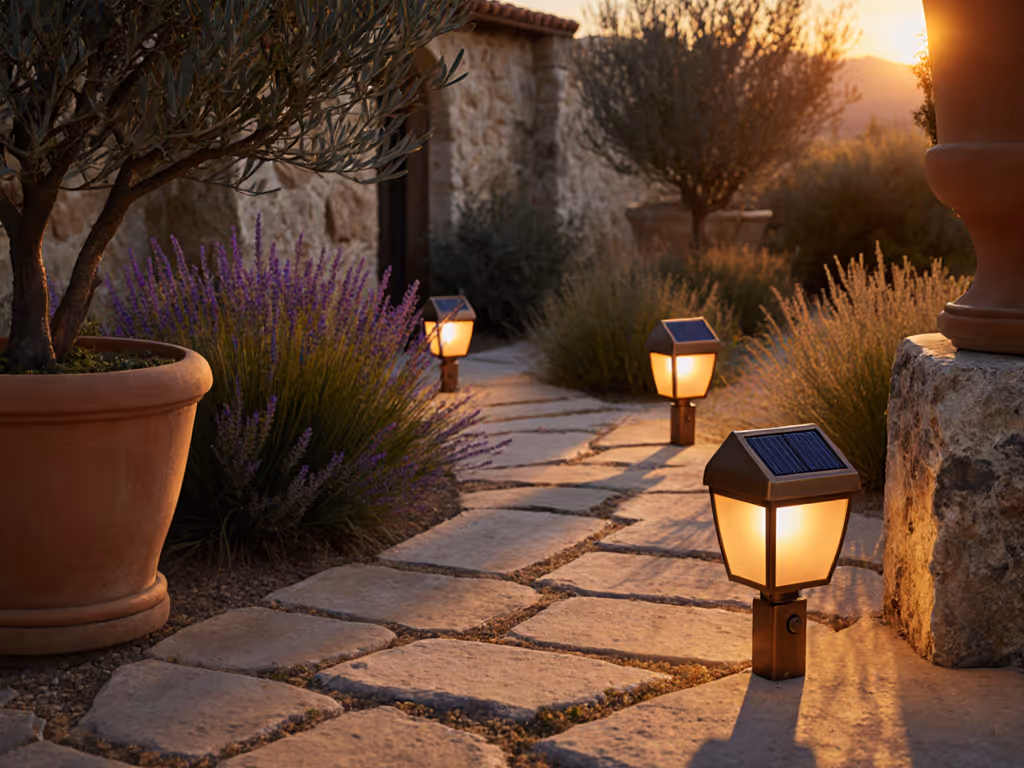
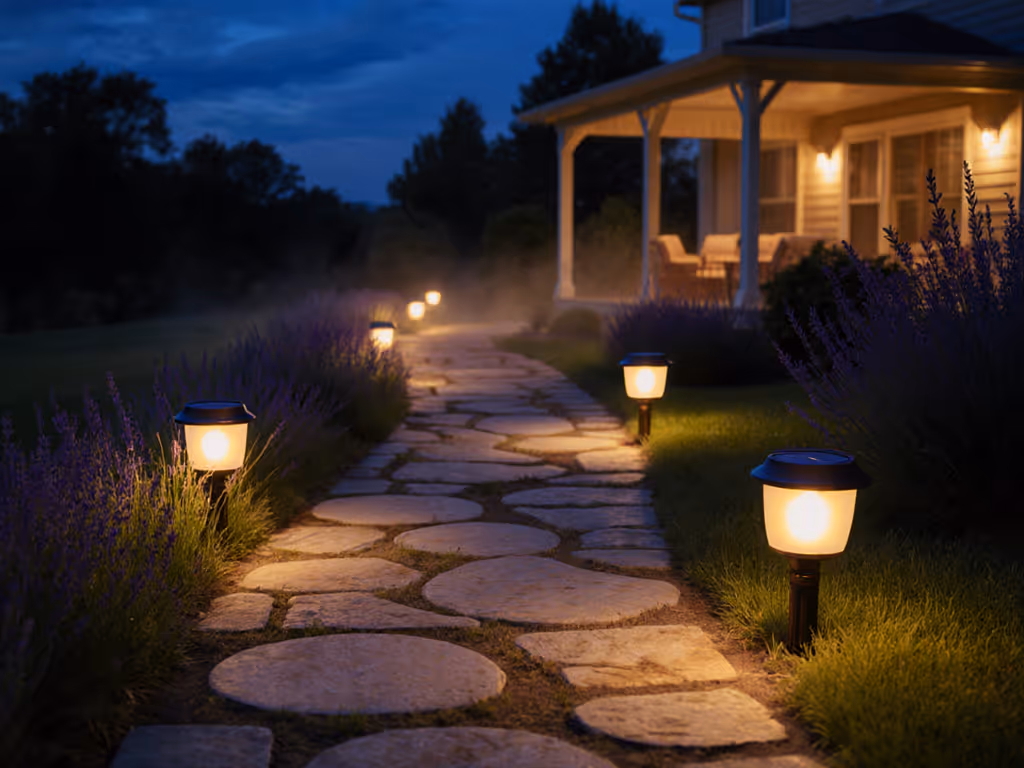
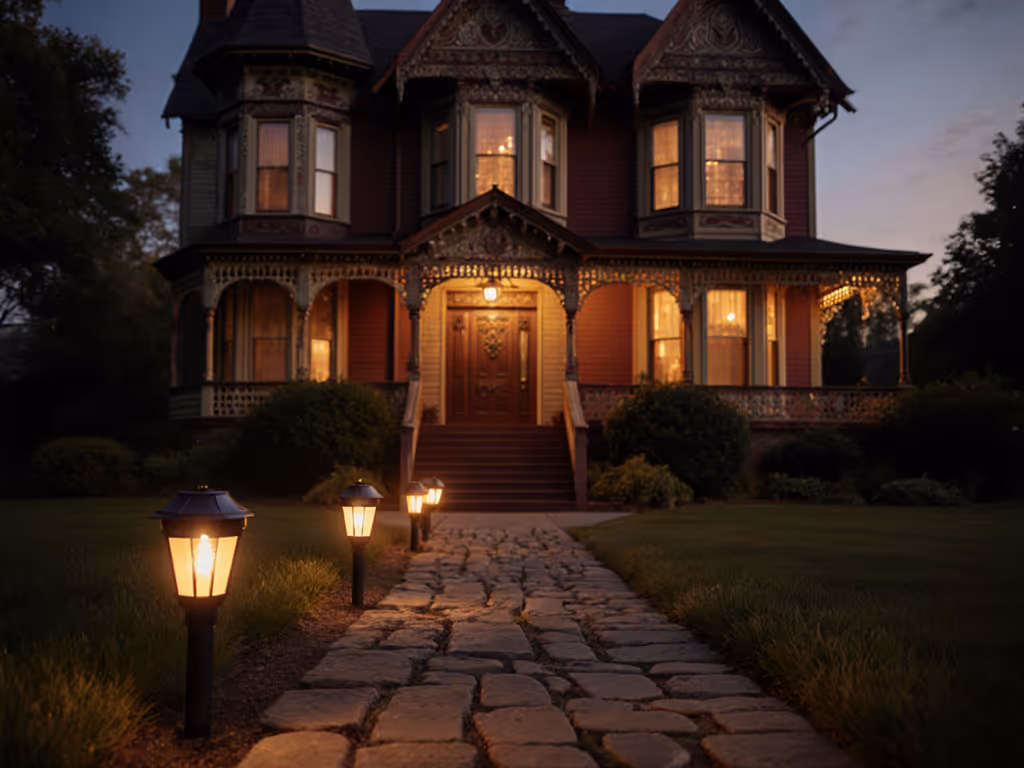
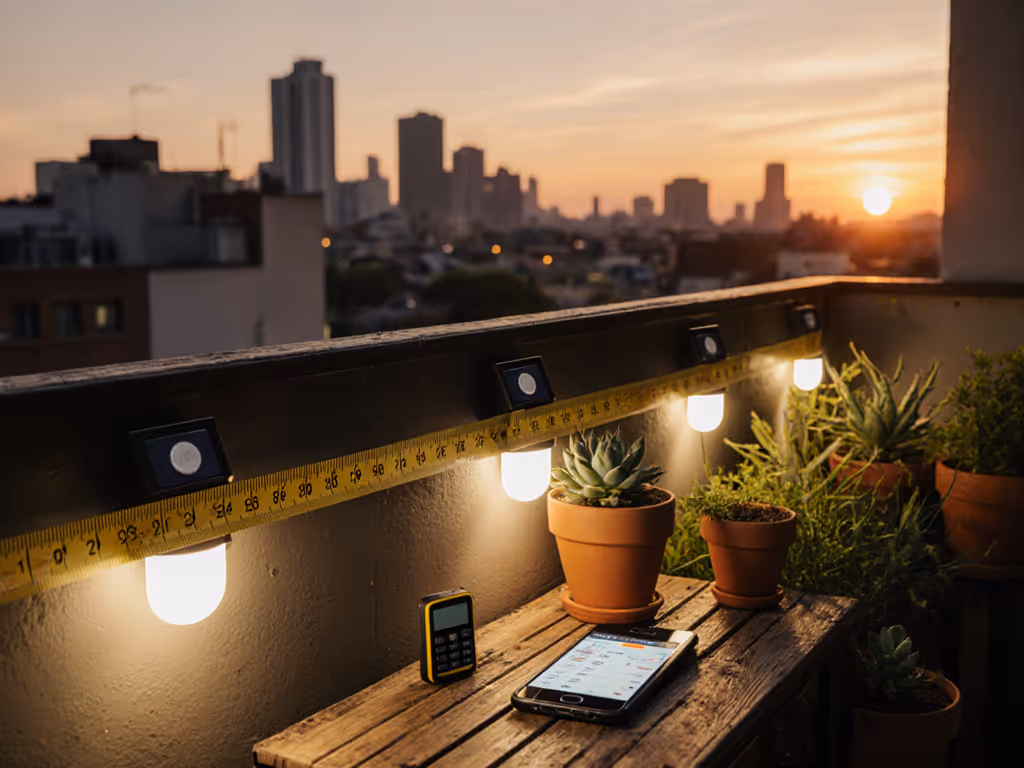
On a balcony, placement is architecture. Think vertically and edge-focused:
- Railing mounts (corner clips or weighted bases): Keep the deck clear and distribute light across boundaries
- Pot perimeters: Nestle lights among container plants; the foliage diffuses rays and creates natural softness
- Step edges: If you have stairs, low container garden lighting metrics at treads guide safely without glare or light trespass
- Overhang gaps: Tucking lights into alcoves or under eaves hides the fixture and bounces warm light onto the ceiling or deck
Spread lights apart rather than clustering them. A triangle or staggered pattern feels intentional and spreads illumination more evenly than a pair huddled in one corner.
Dealing with Shade and Microclimate
If your balcony is partially shaded (many are), adjust accordingly:
- Tilt or angle the panel toward the sun's highest winter path (roughly south in the Northern Hemisphere)
- Clean panels monthly (dust and pollen cut efficiency by 10-20%)
- Choose higher-efficiency fixtures (look for 2700K or warmer LEDs with good color rendering; they deliver perceived brightness more efficiently)
- Consider a backup strategy: One solar light with a remote, tiltable panel positioned on a sunny ledge nearby can charge a tethered backup battery for cloudy stretches
Beautiful light hides the source and honors the night.
Winter Readiness and Balcony Lighting Formulas for Cold Climates
Short days and cold temperatures hit hard. Plan for it:
- Select batteries rated for cold (some cheap lithium setups die below freezing; look for -10°C or lower specs)
- Oversize panels slightly if your site gets fewer than 3 winter sun-hours per day
- Expect 40-50% runtime loss December through February (that's normal, not failure)
- Embrace realistic timers: Run lights from 6 p.m. to 10 p.m. in winter; extend them in summer when days are long and panel efficiency peaks
Common Calculation Mistakes and How to Avoid Them
Mistake 1: Trusting advertised specs blindly
Many manufacturers list "50-hour runtime" under ideal conditions (which almost never occur). Divide advertised hours by 2-3 for real-world winter performance.
Mistake 2: Forgetting to account for battery age
A solar light performs best in year one. By year three, battery capacity drops 20-30%. Size your system for performance at year two or three, not year one. If long-term costs matter, compare DIY-replaceable vs sealed batteries before you buy.
Mistake 3: Assuming more lumens equals more ambiance
A single 200-lumen fixture glares and fatigues. Three 40-lumen fixtures feel warm and inviting. The distributed approach also guards against neighbor complaints and dark-sky concerns.
Mistake 4: Placing panels in permanent shade
A solar panel under a tree or perpetually shaded side of a building will never charge fully. Even one hour of direct afternoon sun dramatically improves performance.
Mistake 5: Ignoring color temperature
Fixtures above 4000K feel clinical and scatter light in ways that read as glare on a small balcony. Warm (2700K or below) feels intentional, safe, and neighbor-friendly.
Mistake 6: Underestimating reflected glare
Balcony railings, decking, and walls bounce light. A fixture that seems gentle in an open yard can create harsh reflection in a confined space. Test placement before committing.
Bringing It All Together
Calculating balcony solar light requirements doesn't require spreadsheets or an engineering degree. It requires honest observation and a few simple formulas.
Walk your space. Note the sun. Define how long you want to gather. Size your batteries and panels to that reality. Choose warm, diffused fixtures. Distribute them thoughtfully. Then (and this is the part most people skip) step back at dusk and feel the light.
Does it invite you outside? Can you see steps without squinting? Do your neighbors feel the warmth rather than its source? Do you hear the crickets instead of the hum of a glaring outdoor fixture? That's when you know the calculation paid off.
Your Actionable Next Steps
- Track your site's sun exposure over three days. Jot down direct-sun hours from 10 a.m. to 4 p.m. Note how neighboring structures cast shadows.
- Define your runtime target: Will you use the balcony mainly for 5-7 p.m. summer gatherings, or do you need reliable ambiance through winter evenings? Be honest with yourself.
- List your tasks and accent zones: Where do feet need guidance? Where would a gentle glow on a planter feel right? Sketch it lightly on paper.
- Sketch a rough fixture count using the lumens-per-fixture formula above. Aim for 3-5 sources rather than one or two bright lights.
- Choose warm (2700K or warmer) LED fixtures with high IP ratings (IP67 or better) and a diffused or recessed lens that hides the hot spot. Avoid exposed LEDs entirely.
- Test one fixture through a full month before committing to a full set. A single light reveals real performance in your microclimate and seasons, far more valuable than any spec sheet.
- Measure placement: Use painter's tape to mark fixture positions on your railing or deck. Live with the layout for a few evenings before final installation.
Your balcony deserves light that serves you, not one that demands attention. Calculate precisely, invest thoughtfully, and step outside into a glow that feels like home.
Related Articles