Lumens vs Watts: Glare-Free Solar Lighting Guide
By Maya Lindstrom • 3rd Oct
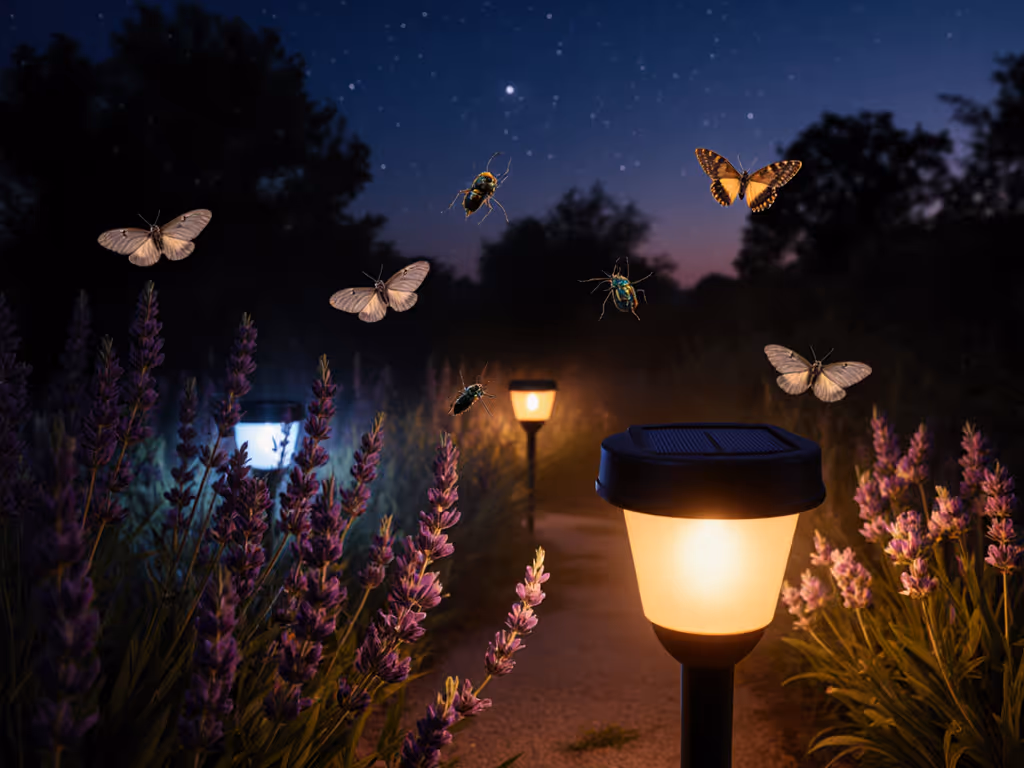
When your solar lights flicker to life at dusk, they should invite you into the garden, not assault your eyes. Truly understanding lighting metrics means moving beyond marketing hype to create spaces where fireflies glow brighter than fixtures. I've seen how a single misplaced spotlight can turn a sanctuary into a security zone, shattering the peace you worked so hard to cultivate. That's why I focus on light that shapes the garden, not the other way around.
Why Brightness Myths Cause Glare (and Ruin Ambiance)
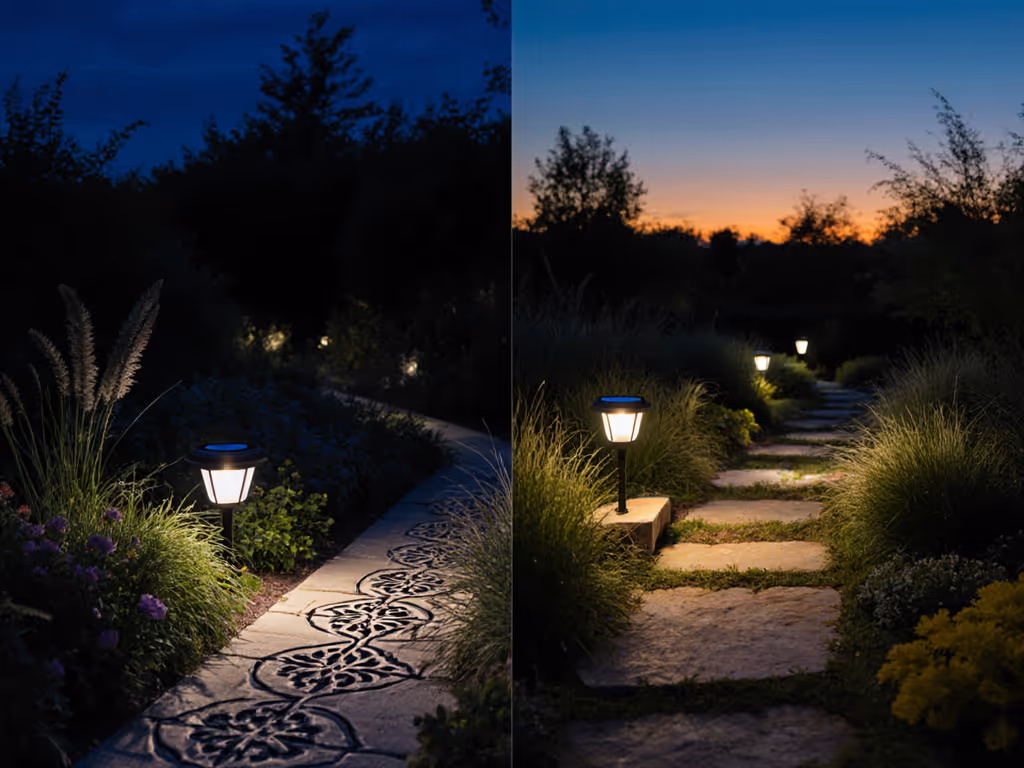
Let's clear the fog: lumens vs watts confusion is why so many solar lights fail at dusk. Lumens measure visible light output (how much brightness actually reaches your eyes). Watts? Just energy consumed. A cheap solar stake might boast "500 lumens!" but cram all that light into a harsh, exposed beam. In practice, 200-300 lumens, properly diffused through a shielded fixture, create the gentle path glow you need without blinding you. Think of lumens as potential brightness; what matters is how that light lands.
Edges soft, sources hidden: That's the mantra that transforms glare into grace.
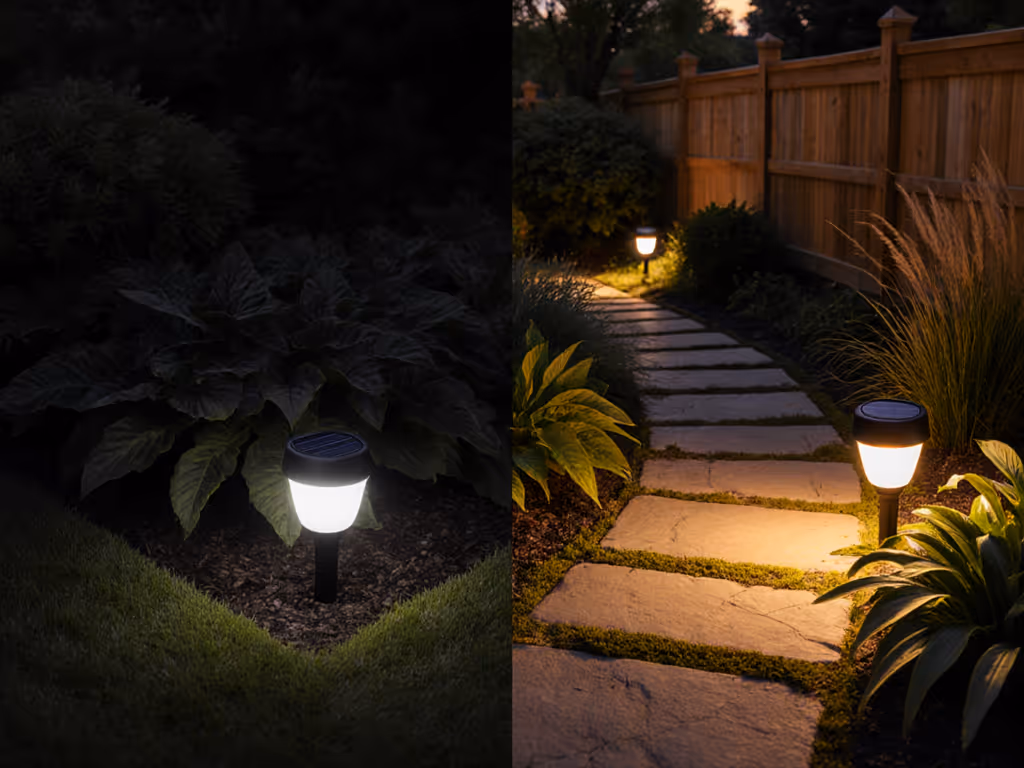
Solar lighting compounds this problem. Weak batteries (common in budget units) force manufacturers to cram high-lumen LEDs into tiny housings to compensate for poor efficiency. The result? A blinding hotspot that dies by 9 PM. Instead, prioritize fixtures channeling modest lumens (150-300 for paths) through precise optics. You will get longer runtime and softer illumination, like the warm markers that let my neighbors finally see their steps while hearing crickets, not squinting at hot spots.
The Hidden Culprit: Kelvin Temperature
Ever wonder why some "warm white" solar lights still feel harsh? Understanding Kelvin temperature is your secret weapon against glare. Anything above 3000K emits blue-rich light that scatters in the atmosphere, creating visual noise. True garden-friendly warmth lives at 2700K or below, a golden hue that makes ferns glow and reflects minimally off moisture in the air. Higher Kelvin temps don't just cause glare; they disrupt circadian rhythms for you and local wildlife while attracting insects. Choose amber-tinted lenses (2200K) under dense trees for near-invisible illumination.
Beyond Brightness: Metrics That Actually Matter for Solar
Beam Angle & Glare Control: Your Safety Net
Beam angle importance can't be overstated. A 120-degree flood might seem "brighter" on paper, but it spills light upward, creating skyglow and glare. For path markers, 25-40 degrees is ideal, casting light downward where it's needed. Look for fixtures with internal baffles or lens cut-offs that prevent upward light trespass. This is where "lumens" lie: a 100-lumen light with a 30-degree shielded beam outperforms a 300-lumen flood in both safety and ambiance.
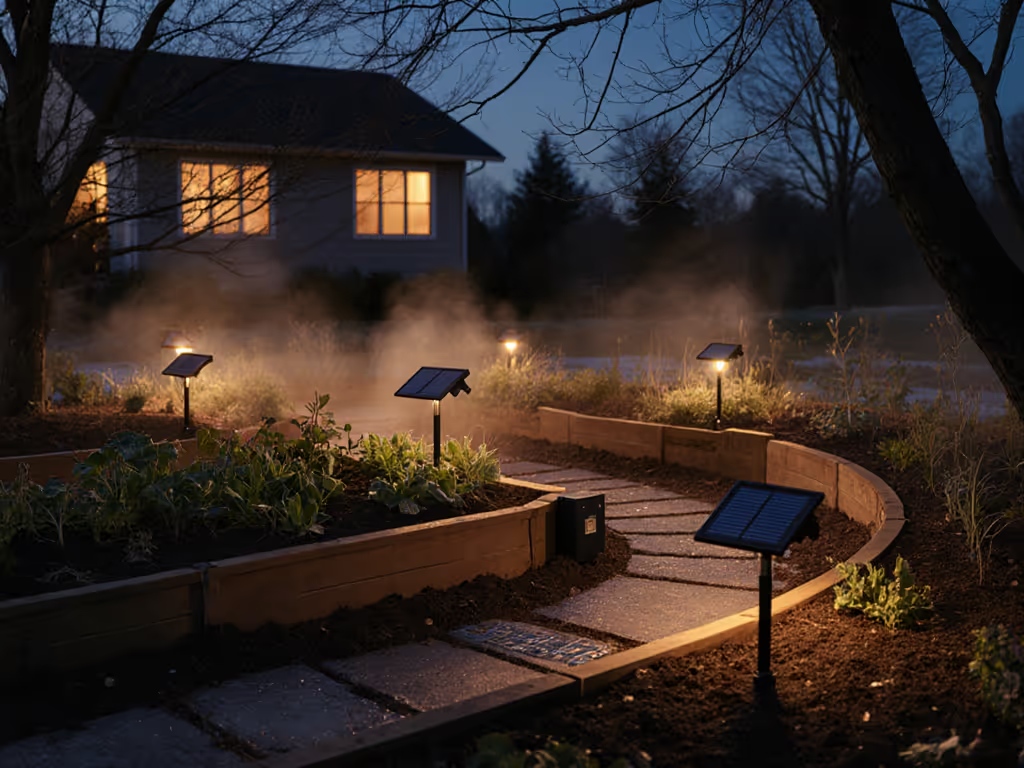
IP Ratings & Winter Survival
An IP rating guide isn't just technical jargon, it is your insurance against Pacific Northwest rains or Midwest freeze-thaw cycles. IP67 (dust-tight, withstands immersion) should be your baseline. Why? Water intrusion in cheap units corrodes battery contacts, causing premature failure. Pair this with lithium-ion batteries (not nickel-cadmium!) rated for -20°C operation. For a deeper comparison of battery types and cold-weather performance, see our solar battery types. I've tested units in Vermont winters; only those with true IP67 seals and cold-tolerant cells lasted past January.
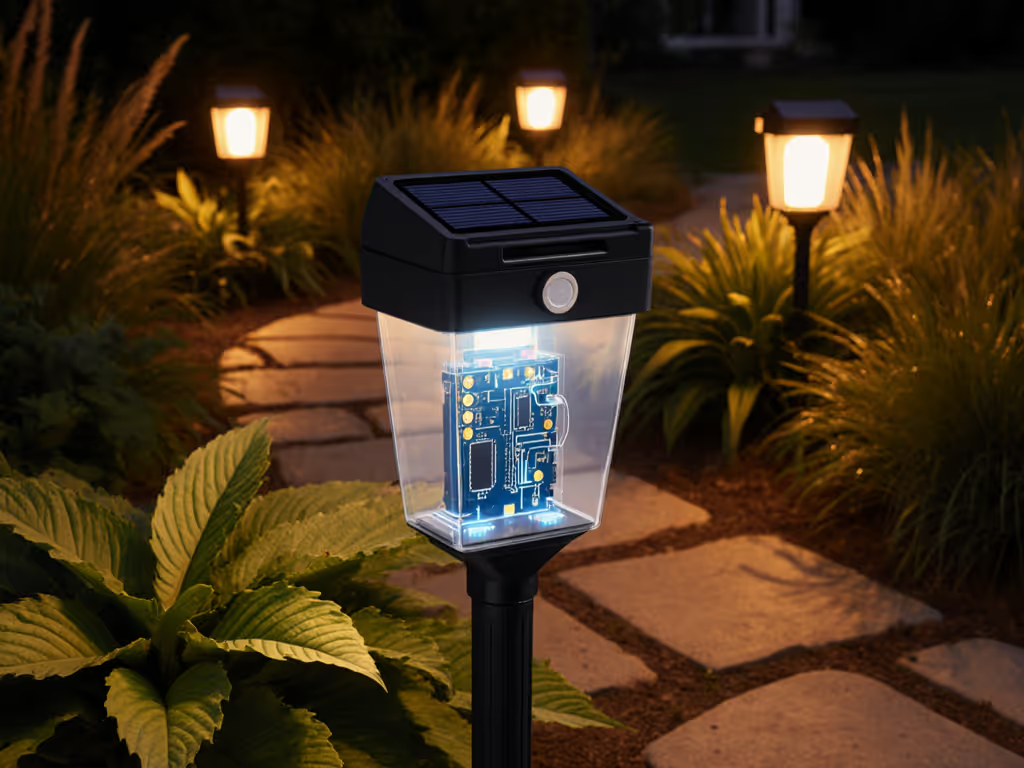
Real-World Solar Metrics: Decode the Specs
Don't fall for "12-hour runtime" claims. Check for:
- Panel wattage (>=1W for shaded areas)
- Battery capacity (>=2000mAh)
- "Winter index" (runtime at 0°C/50% sun)
A unit with a 0.8W panel plus a 1200mAh battery might claim 10 hours, but in reality, it dies after 3 on cloudy days. Prioritize brands disclosing actual low-temperature performance, not just "up to" promises. One reliable fixture I recommend uses a 1.2W panel with a remote-mount option for heavily shaded zones, ensuring consistent dusk-to-dawn operation even under maple trees.
Your Action Plan: Building a Glare-Free Solar Garden
Step 1: Audit Your Shade Zones
Before buying anything, track sun exposure. North-facing paths in Seattle need different solar solutions than sunny Arizona patios. In dense shade:
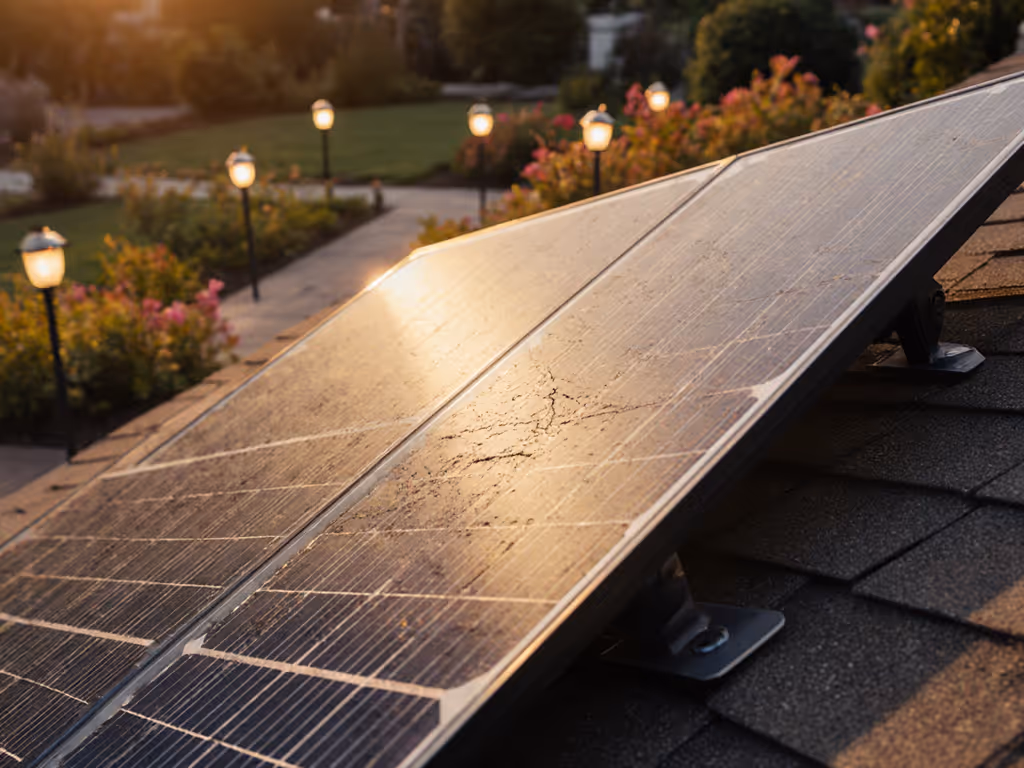
- Demand remote solar panels (place on a south-facing roof)
- Seek monocrystalline panels (15-22% efficiency vs. 10-15% for polycrystalline)
- Prioritize higher battery capacity (2200mAh+)
Step 2: Design for Darkness
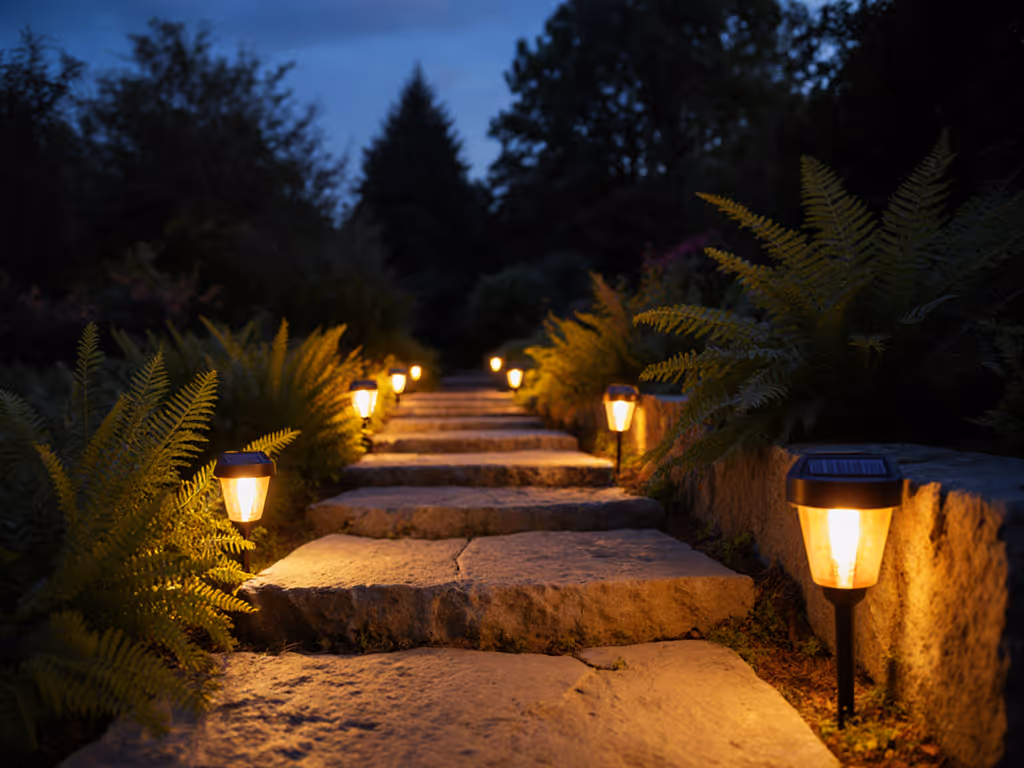
Map your garden's "dark zones", places where light trespass would bother neighbors. Install fixtures with full cutoff housings (no upward light) at 2700K. Paths need 2-4 lumens/sq. ft; planting beds require just 1-2. Over-lighting wastes energy and creates glare. Remember: with thoughtful beam shaping, you often need fewer fixtures than you think.
Step 3: Verify Real Metrics
When shopping, ignore "equivalent to 60W" claims. Demand:
- Actual lumens (tested at 1 m distance)
- True CCT (via spectrometer, not marketing)
- IP67 minimum (with gasket seals, not just coating)
Check warranty terms. Reputable brands offer 2+ years on batteries. Skip any unit without replaceable cells; it's planned obsolescence for your garden.
The Light You Don't See is the Best Light
That evening my neighbor thanked me? It wasn't about brightness, it was about belonging. When lights vanish into the landscape, what remains is the garden's true spirit: textured leaves, the curve of a path, the sound of crickets. Understanding lighting metrics isn't technical homework, it is how you honor the night while keeping your space safe. Choose fixtures that obey the rule: Edges soft, sources hidden. Measure your shade, demand real specs, and let the garden glow, not the fixture staring back.
Your next step: Grab a notebook tonight. Walk your garden at 8 PM. Note where glare stings or shadows pool. Tomorrow, replace one problematic light with a shielded 2700K unit under 300 lumens. You'll feel the difference by week's end, no squinting, just serenity.
Related Articles