Mirror Water Lighting: Deck Solar That Lasts
By Aisha Nwosu • 12th Apr
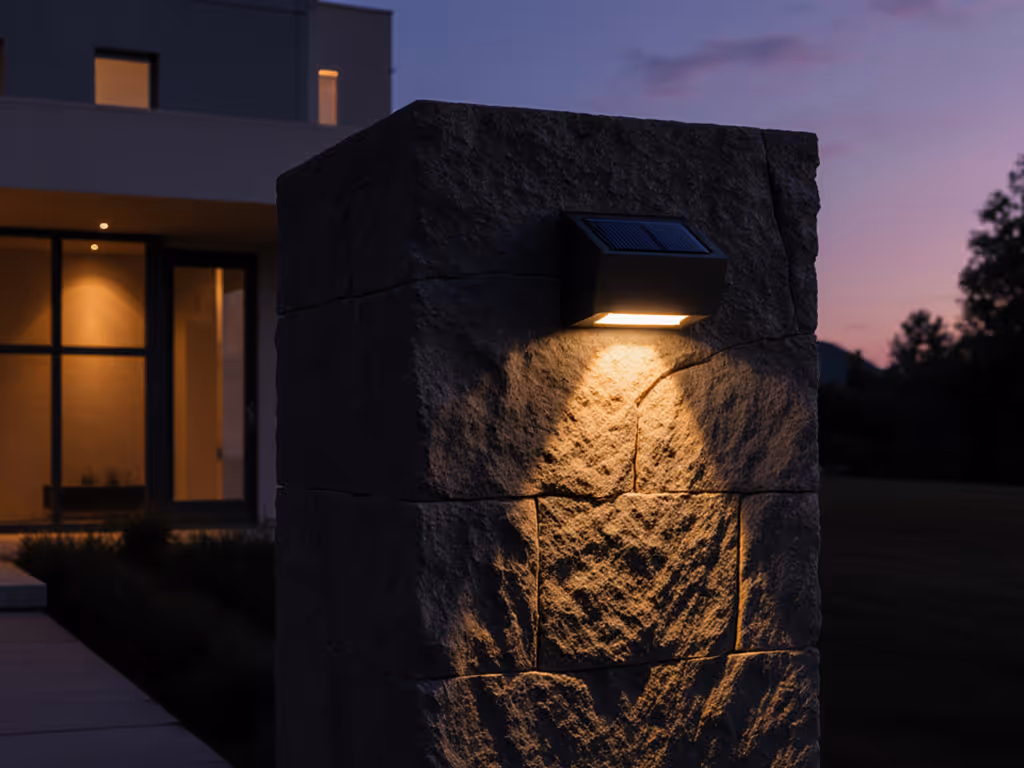
Deck solar lights positioned strategically around mirror water feature lighting (pools, ponds, fountains, shallow basins) demand a different calculus than typical path stakes. Reflective surfaces amplify both light and failure: glare multiplies, batteries drain faster chasing brightness specs, and cheap optics cloud within a season. This guide cuts through the hype and walks you through what actually survives multiple seasons by the water.
Why Mirror Water Lighting Breaks Most Solar Stakes
Reflection changes everything. Water throws light back at sensors, confusing dusk-to-dawn logic and draining batteries prematurely. The temptation to overpower a fixture (to match the "mirror effect" vendors promise) leads straight to glare complaints, HOA fines, and dead cells by November. I learned this painfully: years ago, I installed a bargain 12-pack near a small deck pond. Eight dimmed by October; the plastic lens yellowed by spring, and the reflection off that water had gutted battery life faster than I'd predicted. The waste stuck with me more than the money. That's when I started modeling cost per season and discovered the math: fewer, smarter fixtures beat quantity every time.
Reflection also exposes poor IP ratings and corrosion vulnerabilities. Splash, freeze-thaw cycles, and mineral buildup from reflected water spray accelerate material fatigue. Standard solar stakes (flimsy plastic housings, unshielded solder joints, alkaline-only batteries) fail at the junction of water and cold. Real durability requires powder-coated aluminum, stainless fasteners, sealed optical chambers, and chemistry that tolerates winter dormancy.
1. Assess True Lumen Output vs. Advertised Specs
Solar light marketing inflates brightness claims by 200-400 percent. A vendor claims "600 lumens"; field tests show 150. To decode confusing specs and avoid glare traps, read our Lumens vs Watts guide. This matters more for mirror water because you're tempted to buy brightness to "match" reflected ambient light, then compound the error by chasing specs instead of real-world measurements.
What to verify:
- Demand independent test logs or third-party lux readings at 1 meter, taken fresh from the box and after 50+ charge cycles.
- Cross-check claimed run-time against actual battery capacity (in mAh or Wh) and LED draw (in mA). If the math doesn't add up, the spec is guessed.
- Look for color rendering index (CRI) >= 80, so plants and water features don't look desaturated or lifeless under the glow.
- Confirm color temperature: warm whites (2700-3000K) feel inviting and respect dark-sky principles. Anything above 4000K risks glare and insect attraction.
Calculate cost per usable lumen per season: divide the fixture price by the true lumens and divide again by the number of winters it survives. That's your real cost metric. Cheap stakes rarely survive three winters; mid-tier options with replaceable batteries and sealed optics often cost less per season after year two.
2. Match Beam Spread to Reflective Surface Size and Distance
Mirror water features demand precision beam shape. Compare patterns and placement in our flood vs spotlight beam guide. Flood beams (60-120°) scatter light uselessly over bare water and create harsh reflections. Narrow spotlights (10-30°) concentrate beam on water edges, submerged features, or rock faces, where reflection is controlled and ambiance is earned, not blasted.
Decision framework:
- Small basin or fountain center (within 4 feet): Narrow beam (15-25°) or adjustable optics. Aim low and toward reflective feature edges.
- Pool perimeter or larger pond edge (5-12 feet): Medium beam (30-50°). Position on deck corners or raised planters to catch water surface at an oblique angle, minimizing direct glare.
- Feature accent (submerged stone, sculpture reflected in still water): Narrow spot aimed at the object, not the water plane itself. Light the object; let water reflect the object's glow.
Avoid "wash" modes that try to illuminate the entire water surface. That's a glare trap and a battery drain.
3. Verify Water-Intrusion Protection and Corrosion Resistance
IP ratings matter, but context matters more. A fixture rated IP65 (dust-protected, low-pressure water jets) might fail near salt water or in freeze-thaw zones where ice expands into seams. Coastal homeowners should review our salt-air durability face-off before installing near the ocean. IP67 (temporary immersion, shallow water) is baseline; IP68 (prolonged immersion) is safer for wet decks and splash zones.
Material red flags:
- Plastic housings without UV stabilizers yellow and crack within 18 months in full sun.
- Painted finishes (not powder-coated) peel, exposing steel to corrosion.
- Aluminum bodies without marine-grade anodizing pit in coastal or chlorinated environments.
- Unshielded circuit boards and battery terminals corrode visibly after the first wet season.
- Glued optical chambers (instead of threaded or gasketed) separate under thermal stress.
Buy once, cry once, glow longer. Fixtures with replaceable battery modules, threaded optics, and stainless hardware cost 30-50% more upfront but survive three winters instead of one. The math favors durability.
4. Prioritize Replaceable Batteries Over Sealed Cells
Sealed, non-replaceable batteries are a landfill design. Once the cell degrades (12-24 months), the entire fixture is trash. Vendors justify sealed designs as "weatherproof," but modern NiMH and LiFePO4 batteries tolerate outdoor use if housed correctly.
Replacement battery specs to demand:
- Stainless or spring-loaded battery contact (no corrosion).
- Accessible battery bay without tools or fixture disassembly.
- OEM battery options listed online with clear part numbers, not generic "solar battery replacements" from marketplace vendors.
- Explicit cold-temperature performance (discharge curves at 0°C / 32°F and below).
NiMH (nickel-metal hydride) handles freeze-thaw and retains ~70% capacity in winter; LiFePO4 (lithium iron phosphate) runs longer, tolerates cold better, but costs 40-60% more per cell. For a deeper comparison, see our cold-weather battery performance guide. For snowbelt decks, LiFePO4 + remote or tiltable panels justify the premium. For mild climates, quality NiMH with larger capacity (2500+ mAh) is cost-effective across three seasons.
5. Test Dusk-to-Dawn Sensor Reliability in Shade and Reflection
Reflective water surfaces confuse light sensors. A sensor aimed near water may trigger false "dawn" mid-dusk due to reflection, or fail to trigger if the water is perfectly still and reflective. Sensors in shadow (common on north-facing decks) may never reach high enough lux to trigger reliably, especially in winter.
Verification steps:
- Request product data on sensor angle, lux threshold, and hysteresis (dead band to prevent flickering).
- Test in situ for 10-14 consecutive days, logging on/off times. A reliable sensor activates within 10 minutes of civil twilight and holds through the evening without false triggers.
- If sensor placement is near water, choose fixtures with adjustable sensor orientation or remote sensors (connected via low-voltage wire), allowing you to mount the sensor on deck or railing, away from reflection.
- In heavy shade, consider timed controls (separate battery-powered timers or smart hubs) instead of light sensors.
6. Calculate All-Season Run-Time Under Real Winter Conditions
Manufacturers spec run-time under "standard test conditions" (6 peak sun hours, 25°C ambient, fresh battery). Winter reality: 2-3 peak sun hours in many regions, sub-zero temperatures, cloud cover, and snow on panels. Battery capacity drops 30-50% in cold; panel output drops 15-25%.
Model your own run-time:
- Find the fixture's solar panel wattage (should be published; if not, it's deliberately obscured).
- Estimate winter sun hours in your zone (regional solar data; typically 2-3 hours in northern latitudes, 4-5 in southern).
- Estimate winter temperature (if your winter average is 20°F / -7°C, battery capacity is ~60% of rated).
- Multiply: panel watts × sun hours × battery capacity factor = available Wh per day.
- Divide available Wh by LED draw (in watts). That's your real run-time in hours.
If the math gives you 6-8 hours on a winter day and you need 10-12, the fixture will fail mid-evening after consecutive cloudy days. Buy fixtures with 40-50% run-time margin in winter, not break-even.
7. Evaluate Beam Shaping and Reflection Optimization
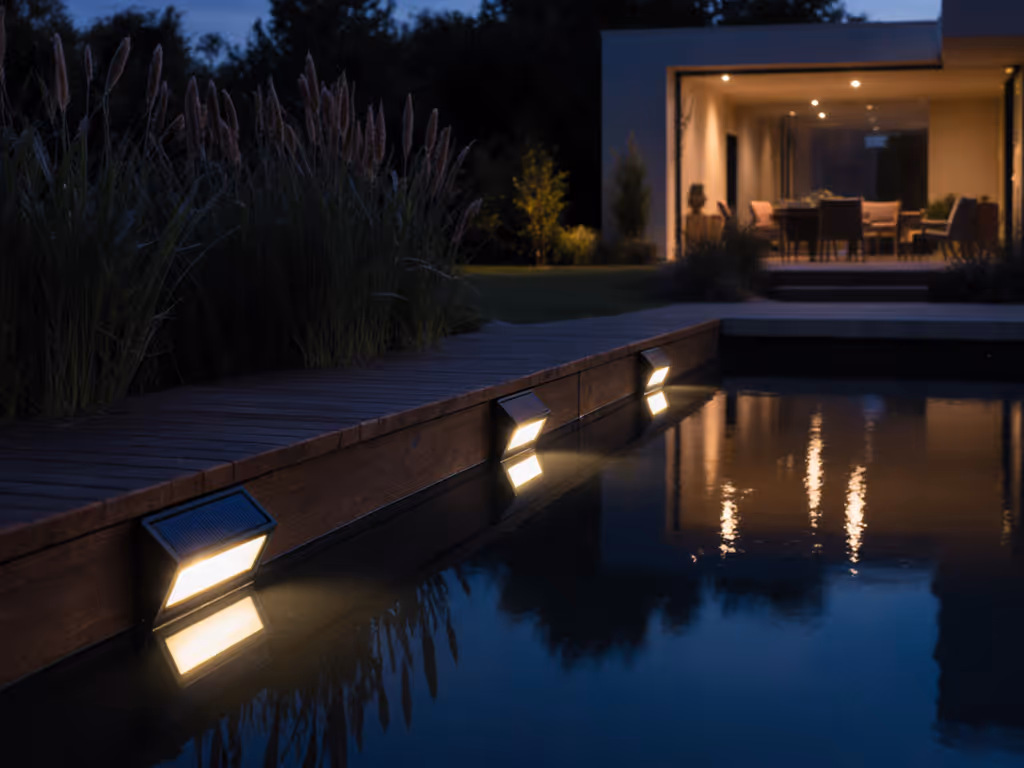
Calm water illumination thrives on controlled optics. Smooth water surfaces act as mirrors; if light spreads evenly, reflections are glaring and shapeless. Precision beam shaping creates visual interest: reflected light pools concentrate the glow, softens shadows, and guides the eye without washing the scene.
Fixture features that enable this:
- Frosted or diffused lenses that soften beam edges, reducing harsh hotspots reflected in water.
- Asymmetrical or shaped beam patterns (e.g., oval or rectangular) that match water feature geometry.
- Narrow beams with low-glare optics, plus baffles or shields that contain light below the 45° plane, respecting dark-sky principles.
- Tiltable or adjustable mounting that allows fine-tuning aim without reinstalling.
- Multiple brightness modes (full, 50%, 25%) to dial in intensity after dark-sky seasons or as neighbors adjust.
If a fixture offers only a single broad flood mode, it's not suited for mirror water. Move it to pathway or perimeter duty.
8. Assess Installation Complexity and Weather Durability
Deck solar lights installed near water face seasonal challenges: leaf debris on panels, pollen, mineral deposits from splashing, and freeze-thaw stress on mounts.
Installation factors that predict longevity:
- Spike or stake design: Thin plastic spikes snap under ground frost heave; aluminum or stainless spikes with shock-absorbing bases (rubber or elastomer) flex and hold.
- Panel tilt options: Fixed horizontal panels collect less winter sun and more snow load. Adjustable or south-facing tilts (if your deck allows) gain 30-40% winter output and shed snow faster.
- Mounting hardware: Self-tapping stainless screws and gaskets beat plastic clips and glue.
- Cable routing: Low-voltage runs should use UV-stable conduit and weatherproof junctions; hidden runs (under deck boards) reduce ice damage and aesthetic clutter.
- Ground contact: Bases in direct contact with wet deck or soil corrode faster. Elevation on feet or risers extends life by years.
Installation time should be <5 minutes per fixture. If setup requires tools, silicone, or voltage calculation, the vendor is passing the burden to you, and failure will follow.
9. Compare Warranty Terms and Repair Accessibility
Warranty is a proxy for confidence. A 1-year warranty signals "we expect this to fail." A 3-year warranty with battery replacement suggests durability testing. A 5-year material warranty with pro-rated terms shows long-term thinking.
Dig into warranty fine print:
- Is battery degradation covered, or only "defects"? (Degradation is normal; defects are rare.)
- Are replacement parts (batteries, optics, seals) available for sale independently, or do you need a warranty claim?
- Is there a performance guarantee (e.g., "maintains >= 70% brightness for 3 seasons")?
- What's the return process and restocking fee?
- Does the warranty cover freeze-thaw damage, or only manufacturing defects?
Brands that sell replacement batteries and parts separately expect long ownership. Brands that force warranty claims for any issue are betting you'll give up. Choose the former.
10. Account for Total Cost of Ownership Across Three Winters
Here's the framework that changed my buying habit: divide total cost (fixture + expected battery replacements + troubleshooting time) by the number of seasons you expect ownership, then compare cost per season across brands.
Example calculation:
- Option A (Budget): $25 stake, dies mid-year 2 = $25 ÷ 1.5 seasons = $16.67 per season.
- Option B (Mid-tier): $80 fixture + $20 battery replacement in year 3 = $100 ÷ 3 seasons = $33.33 per season (but you own the same light for 3 winters).
- Option C (Premium): $160 fixture, no battery replacement until year 4 = $160 ÷ 3.5 seasons = $45.71 per season (with superior optics and zero headaches).
Option B is often the sweet spot: cost per season is higher than cheap stakes, but lower than premium, and reliability beats both extremes. The trap is buying Option A repeatedly (you're paying $50 for three stakes over 18 months) when $80 once would cost less and deliver light that actually lasts.
11. Match Product Selection to Reflected Water Type
Still water (pools, ponds, slow fountains) maximizes mirror effect and demands precise beam control; glare risk is highest. For product picks and placement tips around ponds and fountains, see our waterproof fountain & pond lighting guide.
- Best approach: Narrow-beam spotlights (15-30°) on corners or raised planters, aimed at water edges or submerged features, not the water plane.
- Avoid: Broad floods aimed directly at water surface.
Moving water (waterfalls, fountains, streams) scatters light and reduces glare risk; you can use wider beams.
- Best approach: Medium beams (40-60°) on deck edges or ground stakes positioned to catch water motion and reflect splash upward (magical effect).
- Avoid: Narrow beams that miss moving water surfaces.
Partial shade zones (water beneath trees or on north-facing deck) need higher-efficiency panels or remote-panel options.
- Best approach: Fixtures with tiltable or remote PV panels (positioned on sunny deck or south-facing railing), connected via low-voltage wire to the light fixture in shadow.
- Avoid: Expecting standard all-in-one stakes to perform consistently in deep shade; they won't.
12. Cross-Check Performance Claims Against Independent Testing
Vendors don't field-test in winter or snow. Third-party testers do. Before buying, search for independent reviews from:
- Regional solar or landscape publications that test in climates matching yours.
- University extension offices or horticultural departments (many publish solar lighting guidance).
- Outdoor-living forums where users post multi-season logs and photographs.
- Professional landscape designers' supplier reviews (they have reputation on the line).
Note: Many online reviews are affiliate-driven or incentivized. Seek reviews that mention cost, warranty claims, and real run-time with data. Skepticism is your friend.
--
Summary and Final Verdict
Deck solar lights positioned for mirror water feature lighting require a different bar than typical pathway stakes. Reflection amplifies both light and failure modes: glare, battery drain, and material vulnerability. The vendors selling 12-packs at sale price are betting you won't track the damage (failed lights, yellowed plastic, landfill guilt) across three winters.
The clear-eyed choice: buy fewer, brighter, longer. Select mid-tier fixtures ($60-120 each) with replaceable batteries, narrow-beam optics, sealed aluminum housing, and proven 3-year durability. Avoid sealed batteries, broad floods, and plastic housings. Verify lumen output with independent test logs, not vendor specs. Calculate cost per season, not just price. Match beam shape and angle to your water feature type and deck layout. In shade, invest in remote-panel options; in cold climates, prioritize LiFePO4 batteries and tiltable PV cells.
The cheapest light is the one you don't replace. Pay once, cry once, glow longer, and your winter garden will reflect that choice every clear evening for years to come.
Related Articles