
Garden Solar Light Troubleshooting: Fix & Prevent Failures
By Maya Lindstrom • 3rd Oct
There's a quiet magic when your garden solar lights transform your outdoor space after dusk, casting gentle pools on stepping stones, glinting through leaf canopies, and guiding paths without glare. But when those solar light troubleshooting moments arise, that peace shatters into frustration. I've been there too: the disappointment when solar fixtures promise ambiance but deliver darkness, or worse, blinding glare that disrupts the very serenity we're trying to create. The good news is that most issues aren't fatal flaws; they're fixable mismatches between your garden's reality and your lighting approach. Let the garden glow, never the fixture staring back.
Why Your Garden Lighting Feels Disappointing
When your solar lights aren't working as expected, you're not just facing a technical problem, you're losing the tranquil evening sanctuary you carefully cultivated. Many homeowners in shaded neighborhoods or variable climates experience the same cycle: purchase hopeful new solar stakes, place them optimistically under trees or along north-facing paths, only to find inconsistent performance within weeks. The culprits often hide in plain sight.
Last spring, I watched a client's garden transform from a beacon of evening warmth to a patchwork of dead zones and glaring hot spots. Their LED solar lights had washed-out color, unreliable runtimes, and worst of all, blinding glare that turned a peaceful corner into an uncomfortable spot. We traced it back to mismatched expectations: fixtures chosen for style alone, not for actual sun exposure, battery capacity, or beam control. It echoed that moment when my neighbor thanked me for replacing a glaring bollard with low, warm markers (suddenly, we could see steps, hear crickets, and nobody squinted). That evening taught me that beautiful garden lighting isn't just functional; it's sensory storytelling.
Common Problems That Dim Your Garden's Nighttime Appeal
Short Runtime & Intermittent Lighting
Solar light battery problems plague gardens everywhere, especially where sunlight hours are limited. Most homeowners don't realize that solar light batteries degrade faster in extreme temperatures (both heat and cold accelerate wear). During Pacific Northwest winters or Upper Midwest snow spells, you might see runtimes drop below an hour because:
- Battery chemistry matters: NiMH batteries often fail below 0°C (32°F), while newer lithium variants handle cold better but still lose capacity
- Partial charging cycles from shaded panels slowly reduce maximum capacity over time
- Deep discharge during consecutive cloudy days permanently damages cells For a deeper dive into NiMH vs lithium performance and replacement options, see our solar light battery types guide.
Glare That Ruins the Ambiance
Harsh, unshielded fixtures don't illuminate your garden, they assault it. When a solar light is not working properly and is glaring upward or casting visible hot spots, you've violated the fundamental principle of garden lighting: warm, directional illumination that honors the night. Fixtures with exposed LEDs or minimal shielding create visual discomfort, deter neighbors from walking by, and attract insects that disrupt the peaceful evening you're trying to cultivate.
Poor Performance in Shade and Seasonal Changes
Trees that provide welcome summer shade often become your lighting adversary come autumn. Many homeowners place fixtures where they want light, not where they'll get sufficient sun exposure. Standard solar panels need 6-8 hours of direct sunlight to charge properly, something impossible beneath dense canopies or on north-facing paths in many regions. Without proper placement, even high-quality LED solar lights will falter by mid-winter when sun angles drop and daylight hours shorten.
Proven Solutions for Reliable, Beautiful Garden Lighting
Diagnose Before Replacing
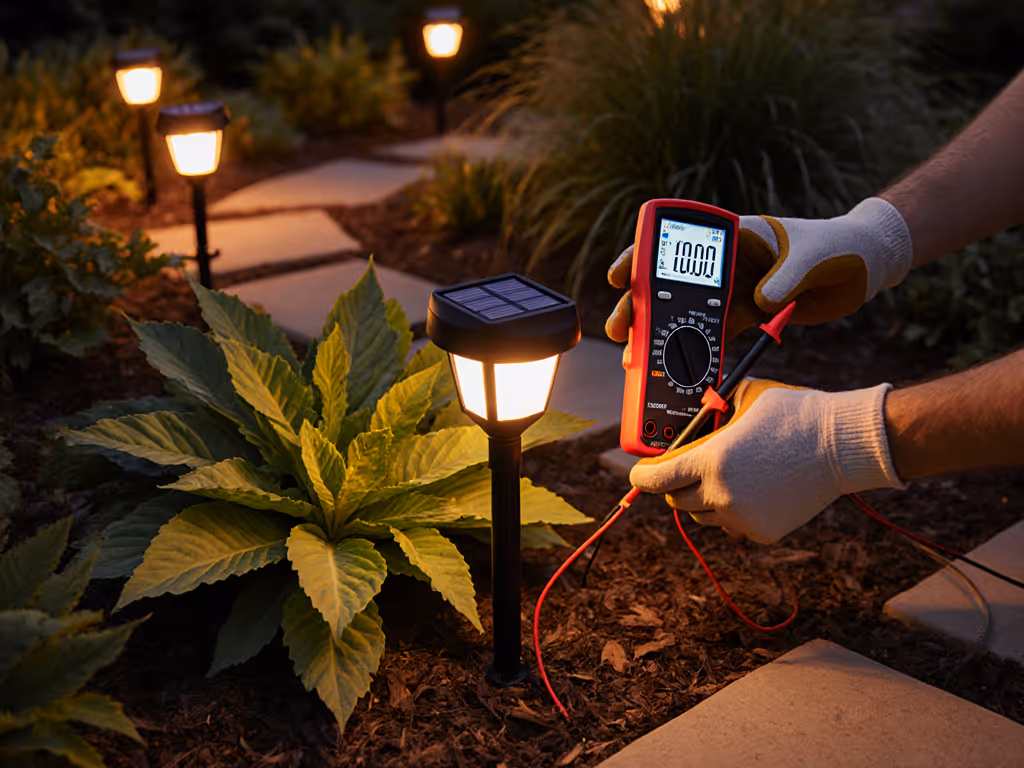
Before discarding a seemingly dead fixture, run this quick field test:
- Check panel placement: Is it actually receiving sunlight? Rotate your fixture or trim overhead branches
- Clean panels thoroughly: Use a microfiber cloth with isopropyl alcohol; avoid abrasive cleaners that haze surfaces
- Test darkness response: Cover the sensor with tape at dusk, and the light should activate within 10 seconds
- Check battery voltage: Multimeter readings should show 1.2V-3.7V when fully charged
This simple solar panel cleaning and verification routine fixes 30% of apparent failures. When you prioritize clean panels angled toward true south (in the northern hemisphere), you'll often see immediate improvements in runtime and reliability. Small tweaks go a long way.
Optimize for Your Garden's Reality
Warm first, always. This isn't just about color temperature (it is about working with your garden's natural rhythms).
For shaded areas:
- Choose fixtures with remote solar panels you can mount in sunnier spots
- Look for panels with higher efficiency ratings (monocrystalline silicon handles partial shade better)
- Position lights to capture morning sun rather than afternoon, when it is most intense in many northern climates
For winter reliability:
- Select fixtures with lithium batteries rated to -20°C (-4°F)
- Install panels at steeper angles (45-60 degrees) to shed snow
- Place fixtures away from north-facing walls that accumulate snowdrifts
Quality Over Quantity: The Less-Is-More Approach
That patchwork look? It comes from mismatched fixtures with different color temperatures and beam spreads. Instead of scattering random solar stakes across your garden, curate a cohesive lighting plan:
- Stick to 2700K or warmer for all garden lighting, this preserves night vision and respects wildlife
- Choose shielded fixtures where light emits downward only, with soft edges that blend into garden textures
- Focus on beam shape rather than raw lumens, narrow spots for tree trunks, wider floods for seating areas
- Coordinate placements to create rhythm along paths with consistent spacing
When you prioritize quality fixtures that disappear into the scene, you'll need fewer units overall, reducing both costs and visual clutter. This is where I see homeowners experience the biggest shift: from frustration with unreliable tech to delight with lighting that simply works, season after season.
Your Next Step to a Peaceful Evening Garden
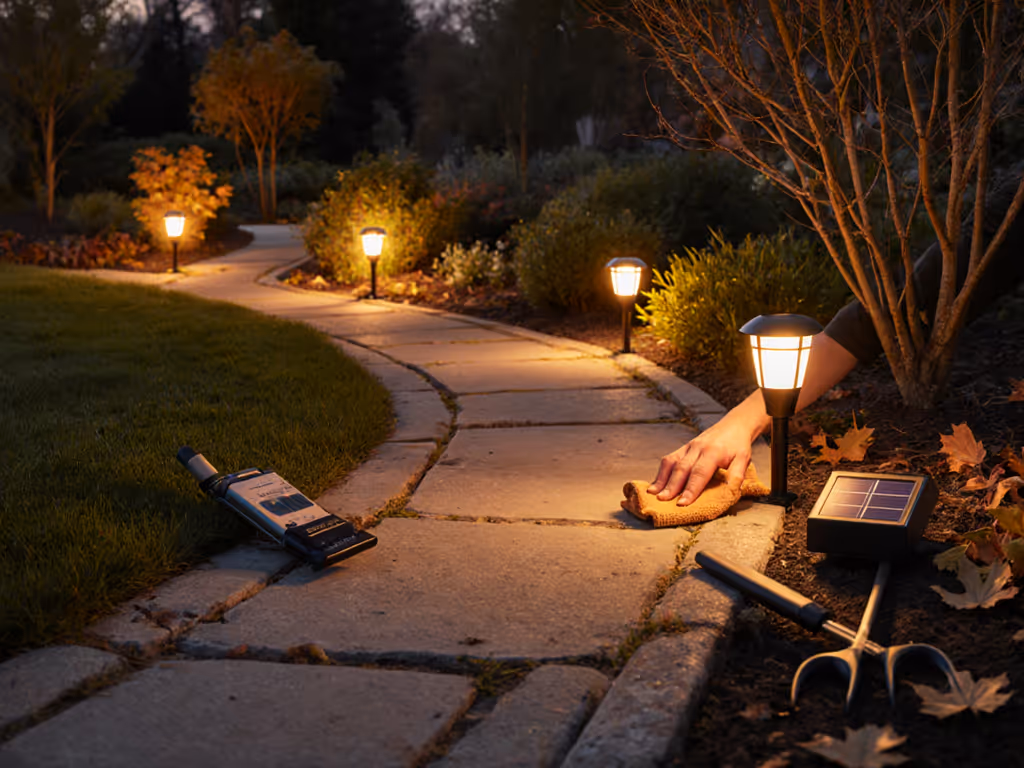
Tonight, step outside at dusk with two simple tools: a small notepad and your phone's flashlight. Walk your garden paths and note where you stumble or feel uncertain. Shine your light downward to simulate proper illumination. Does it reveal steps without glare? Does it highlight plants without washing them out?
Tomorrow, armed with this firsthand knowledge, apply the diagnostics we've covered. Clean your panels, verify placements, and consider swapping just one problematic fixture for a shielded, warm CCT alternative. Start small, observe the difference, and build from there. Remember, beautiful garden lighting isn't about overpowering the night, it's about revealing the subtle beauty that already exists after dark. When you shape light thoughtfully, your garden will glow without demanding attention from the fixture itself.
Warm first, always.
Related Articles

Seasonal Solar Light Maintenance: Year-Round Garden Glow
Keep solar garden lights glowing year-round with season-by-season care: gentle panel cleaning, smart battery choices, weatherproofing, and thoughtful placement that softens edges, hides sources, and balances safety with night-friendly ambiance.