Best Solar Path Lights for Wine Gardens & Vineyards
By Luis Ortega • 29th May
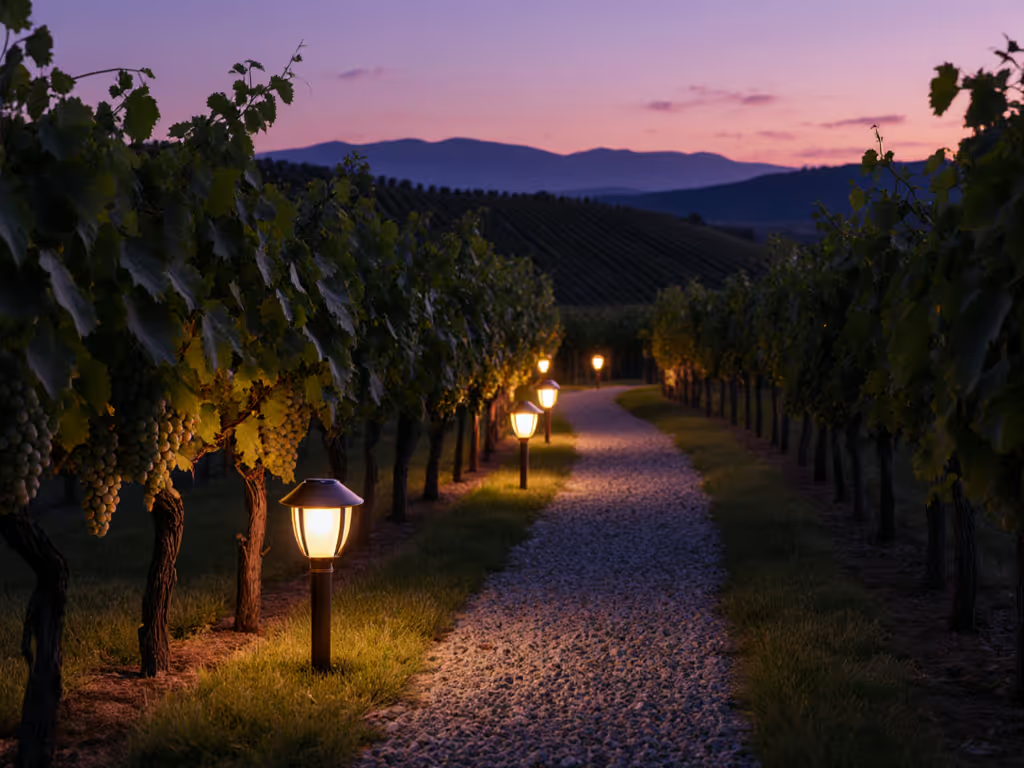
A wine garden or small vineyard looks magical at dusk, but only if your solar path lighting is reliable, warm-toned, and not blinding your guests. The right wine garden lighting solutions combine safety, ambiance, and durability in real weather, not just for one perfect summer evening.
In this guide I'll walk through how to choose and place solar path lights specifically for wine gardens, tasting paths, and vine rows, then break down the main product types I recommend (what they do well, where they fail, and how to deploy them so they keep working after storms and frost).
Sun first, symmetry second.
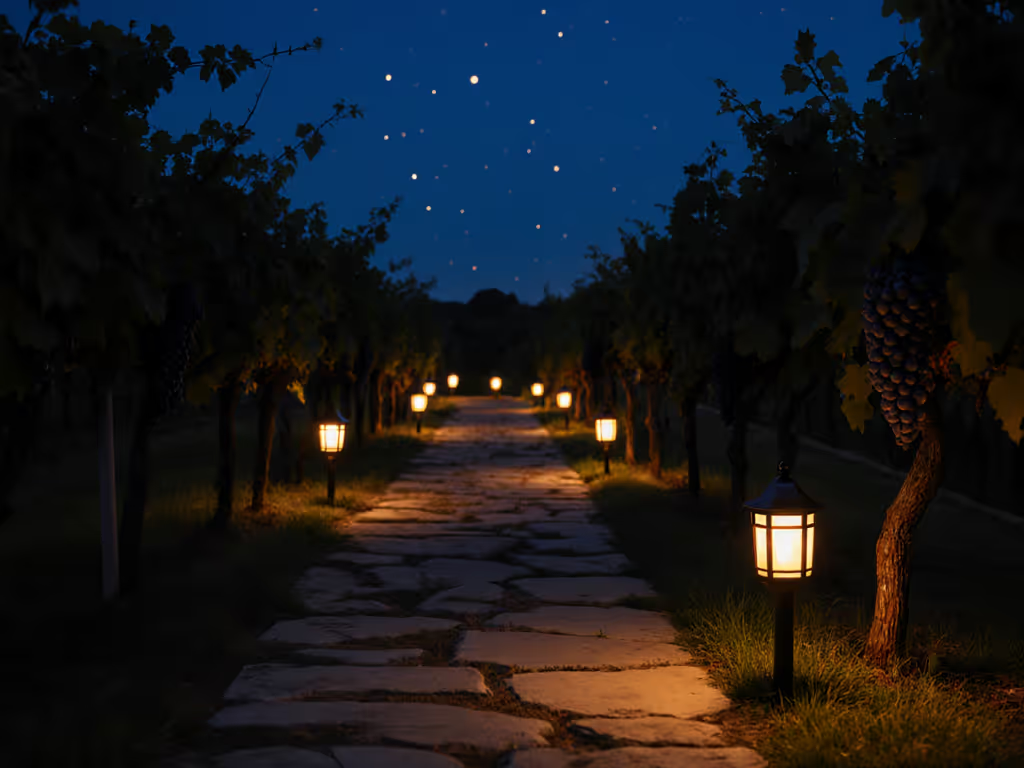
What Wine Gardens & Vineyards Need from Solar Path Lights
Lighting a wine garden is different from lighting a front walk. You have trellises, arbors, vine rows, and often partial shade from trees or structures. That changes what works.
1. Ambiance first, but without glare
Most people want vineyard ambiance lighting that:
- Gives a warm, welcoming glow (around 2700-3000K) so foliage and wine glasses look rich rather than clinical.
- Keeps light low and directed so guests aren't squinting, and neighbors or wildlife aren't hit with stray beams.
- Avoids the "runway" look (no harsh hotspots every 3 feet).
Independent tests on outdoor solar lights show that warm-white, diffused path lights are consistently rated as more pleasant and less glaring than bright, cool-white models, even when the lumen output is similar.[7][8]
2. Real all-season reliability
Wine gardens usually see:
- Variable weather: rain, fog, and long gray stretches.[7][8]
- Freeze-thaw cycles that stress plastics and seals in northern climates.[7]
- Dust and pollen from vines that can haze panels.
Lab testing by consumer organizations has found big differences in how solar lights handle water ingress, corrosion, and winter-like conditions; metal and glass constructions with robust seals generally outperform lightweight plastic sets.[7][8]
3. Smarter performance in shade
Vine rows, arbors, and fences create partial shade during parts of the day. That means:
- Small-panel, low-capacity lights often run only a few hours in winter.
- Lights with larger panels, more efficient cells, or remote/tiltable panels maintain better run-times in tougher locations.[7][9]
Premium solar manufacturers use higher-efficiency photovoltaic cells and better battery management to keep output stable after cloudy days, a key advantage for wine gardens in higher latitudes.[7][9]
4. Dark-sky friendly by design
Dark-sky and HOA-friendly lighting means:
- Shielded optics that throw light down and across, not up into the sky.
- Controlled beam spread (roughly 90-120° for path lights) to avoid light trespass.
- Lower color temperatures to reduce disruption to wildlife and insects.[7][8]
When I evaluate lights, I pay as much attention to beam shape and spill as to lumen claims. For certified low-glare options, see our Dark Sky certified solar lights.
How to Evaluate Solar Path Lights for Wine Gardens
Before we get into specific product types, here is a quick, analytical checklist to compare options.
Key Specs That Matter
Use this as your short-list filter:
-
Panel size & efficiency
Larger, well-oriented panels capture more energy, giving longer run-times and better winter performance.[7][9] Tiny "jewel" tops on cheap sets often underperform after a few cloudy days.[7] -
Battery type & capacity
Look for: -
NiMH or LiFePO4 rechargeable batteries (common in higher-end solar fixtures).[7][9]
-
Stated capacity (in mAh or Wh) that matches the light's lumen output. High-quality lines emphasize replaceable, long-life batteries to extend product lifespan.[7][9]
-
Lumens (true brightness)
For wine tasting pathway lighting, a good working range per fixture is roughly: -
20-40 lumens for subtle edging.
-
40-80 lumens for primary paths or parking-transition zones. Lab tests have found that advertised lumens are frequently exaggerated on budget models, so prioritize brands with independent testing or detailed spec sheets.[7][8]
-
Color temperature (CCT)
Aim for 2700-3000K warm white. Reviewers repeatedly note that warm-white solar path lights create more inviting outdoor spaces than cool-white (5000K+) alternatives.[7][8] Cooler options can be reserved for utility areas away from guests. -
Ingress protection (IP rating)
For vineyards and wine gardens exposed to irrigation and weather, an IP65 or better rating (dust-tight and protected against water jets) is a strong target.[7][9] Lower IP ratings can allow moisture in during heavy rain or sprinkler overspray. -
Build materials
Independent reviews consistently find that powder-coated aluminum, stainless steel, and glass lenses hold up better than thin plastic bodies, especially across multiple winters.[7][8] Premium solar lines aimed at high-end landscapes rely heavily on metal housings and UV-stable components.[9] -
Optics & beam control
Look for: -
Frosted or ribbed lenses for softer glow.
-
Hoods or caps that shield the eye from direct LED glare.
-
Defined beam patterns for arbors and focal features.
Quick Pre-Buy Checklist
Before you spend anything, answer these:
- How many hours of sun do the path and vine rows actually get in summer and winter?
- Where are the shaded zones (under arbors, by tall trellises, north-facing rows)?
- Do you want dusk-to-dawn or just 4-6 hours during guest times?
- Are there HOA or dark-sky rules about brightness or color?
- What's your winter reality (frost, standing water, heavy winds, or snowpack)?
Those five answers determine which of the product types below will realistically work.
The Main Types of Solar Path Lights for Wine Gardens (and How They Compare)
Below I'll break down the main categories I recommend for wine gardens and small vineyards, with pros, cons, and where each shines, literally.
I'm not interested in flimsy, non-serviceable fixtures; I focus on designs that can survive storms and seasons. Consumer lab tests and garden trials back up this bias: durable, well-sealed lights consistently outlast the bargain sets.[7][8]
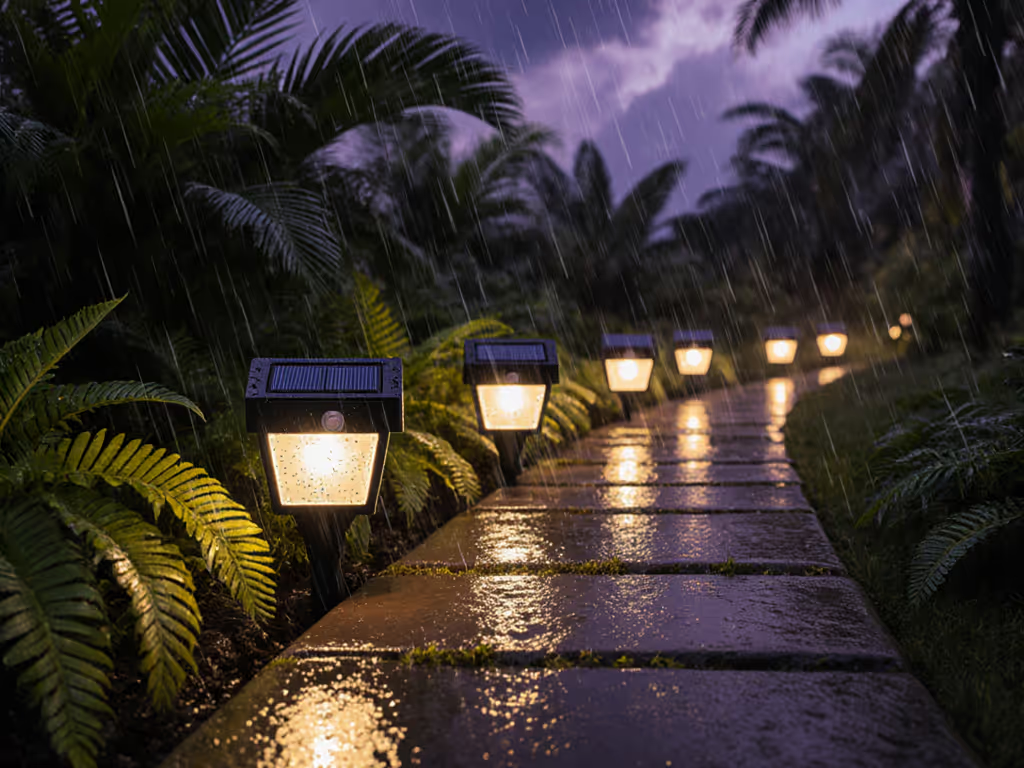
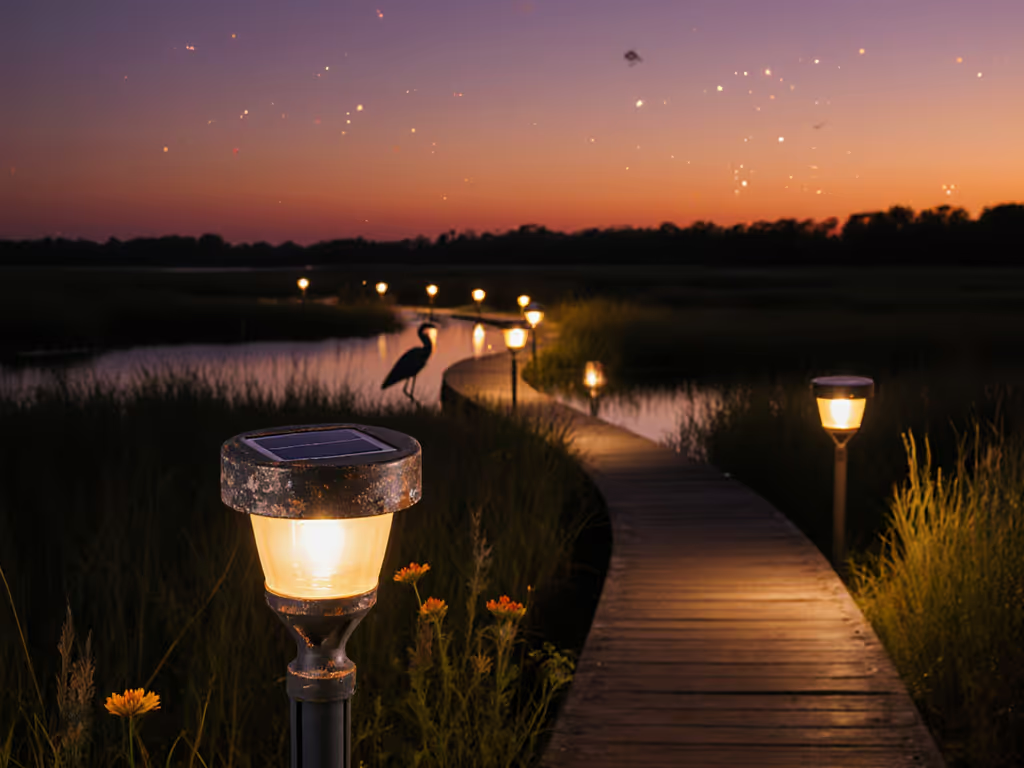
1. Premium Metal Path Lights - Workhorse for Primary Wine Paths
These are the core lights for main walkways from house to wine garden, tasting terrace, or parking to tasting room.
What they are
- Metal (often aluminum or stainless) stake lights, 18-24" tall.
- Integrated top-mounted panel, warm-white LED, frosted or patterned lens.
- Typical output: 40-80 lumens per light with 8-12 hours claimed run-time on full charge.[7][8]
Premium models from established solar brands often use:
- Powder-coated metal housings and tempered glass or high-grade acrylic lenses for longer life in sun and frost.[7][9]
- Replaceable rechargeable batteries to extend service life.[7][9]
- Higher IP ratings and better seals than budget plastic stakes, which lab tests frequently flag for water issues.[7][8]
Best use in wine gardens
- Main guest approach paths.
- Loops between the house, patio, and wine garden.
- Transitions from parking to tasting areas.
Pros
- Reliable brightness and run-time when placed with good sun exposure.[7][8]
- Materials and seals engineered for multi-season durability.[7][9]
- Warm, glare-controlled output that suits a wine setting.
Cons
- Need reasonably unobstructed sun; not ideal right under dense arbors or tree canopies.
- Higher upfront cost per fixture than plastic sets.[7][8]
Placement & spacing tips
- Space 6-10 feet apart depending on lumen output and path width; closer near turns and steps.
- Stagger sides (zig-zag) to avoid runway symmetry. Remember: Sun first, symmetry second.
- For heavy soils or frost-prone areas, pre-drill pilot holes and use a gravel collar around each stake to prevent heaving and wobble.
Secure the stake, then the light takes care of you.
The difference between a wobbly, storm-tossed path and a stable one is usually in how the stakes are set, not how fancy the LEDs are, a fact that shows up again and again when cheap and premium lights are tested side by side outdoors.[7][8] For model-by-model results and spacing advice, see our best solar path lights tested for shade and winter.
2. Remote-Panel Path Lights - For Shaded Rows and Arbors
If you have vine rows, pergolas, or mature trees that throw long shadows, remote-panel solar path lights are your best ally.
What they are
- Low or mid-height path lights connected by wire to a separate solar panel you can mount in a sunnier spot.
- Panel often mounts on a post, fence, or the sunny side of a shed.
Similar setups are increasingly used in high-end solar garden lines to address shaded sites: separating the panel from the light improves charging in partial shade.[7][9]
Best use in wine gardens
- Shaded vineyard aisles or north-facing rows.
- Paths under dense arbors where leaves block overhead sunlight.
- Edges along fences or hedges that see only slanting light.
Pros
- Panel can face true south (in the Northern Hemisphere) and tilt correctly, maximizing charge even in tough conditions.[7][9]
- Lights themselves can tuck under foliage for ambiance without worrying as much about direct sun.
- Good option where you want consistent grape harvest lighting during short, cloudy autumn days.
Cons
- More visible wiring; needs thoughtful routing and strain relief.
- Extra steps in installation and slightly more to plan around mowing or trimming.
Placement & spacing tips
- Mount the panel where it gets at least 4-6 hours of direct sun even on shoulder-season days.
- Keep the panel's cable protected: follow post lines, use clips, and avoid trimmer zones.
- Use these to fill gaps where integrated-panel stakes underperform or die early in the season.
If your wine garden has any stretch where "nothing solar ever seems to work," a remote-panel system is usually the first thing I try before giving up on solar entirely. Also consider these solar lights that actually work in shade for north-facing rows and dense arbors.
3. Bollard & Pattern-Projection Lights - For Tasting Terraces and Feature Paths
For wine tasting pathway lighting near patios, courtyards, and seating areas, pattern-casting bollards can turn a simple path into part of the experience. For performance data across styles, check our solar path bollard lights comparison.
What they are
- Short columns or bollards (often 12-24" tall) with decorative cutouts or patterned lenses.
- Some modern smart models add app-controlled colors, modes, and projection patterns suitable for events.[1]
Advanced smart solar path lights now allow users to change projection patterns, create dynamic effects, and adjust scenes from a phone app, useful if you host frequent events or tastings with varying moods.[1]
Best use in wine gardens
- The approach to a tasting terrace or pergola.
- Courtyard loops around seating or a firepit.
- Special "experience" paths through a showpiece section of vines.
Pros
- Strong vineyard ambiance lighting: patterned light on gravel or stone looks dramatic without requiring high brightness.
- Lower glare because the light is diffused through patterns or frosted panels.
- Smart variants can switch to reserved warm-white most of the time and colorful modes for parties.[1]
Cons
- Generally not as bright as dedicated functional path lights, best as accent, not sole safety lighting.
- Some decorative models prioritize looks over build quality; check materials and IP rating carefully.[7][8]
Placement & spacing tips
- Use closer spacing, 4-6 feet, for continuous patterns along formal paths.
- Keep main safety lighting in place (either separate path lights or overhead string/festoon lights) and think of these as the "finishing touch."
- Avoid aiming patterns where guests walk if the design is too busy; visually complex light underfoot can be disorienting for older visitors.
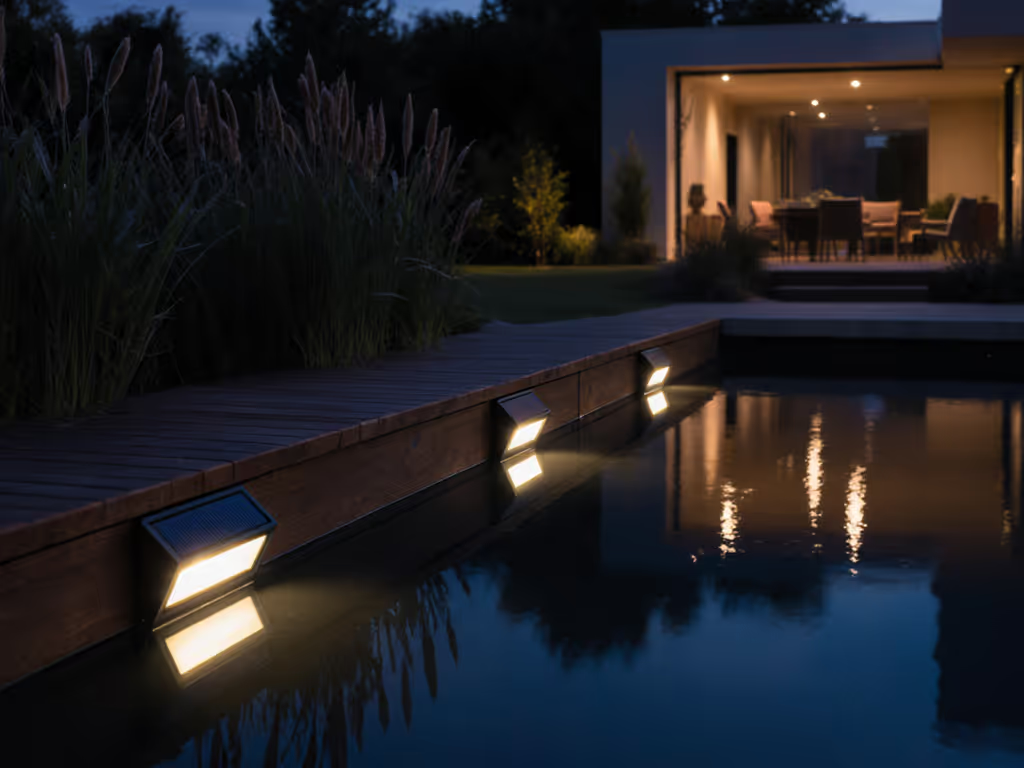
4. Low-Profile Marker Lights - Steps, Edges, and Retaining Walls
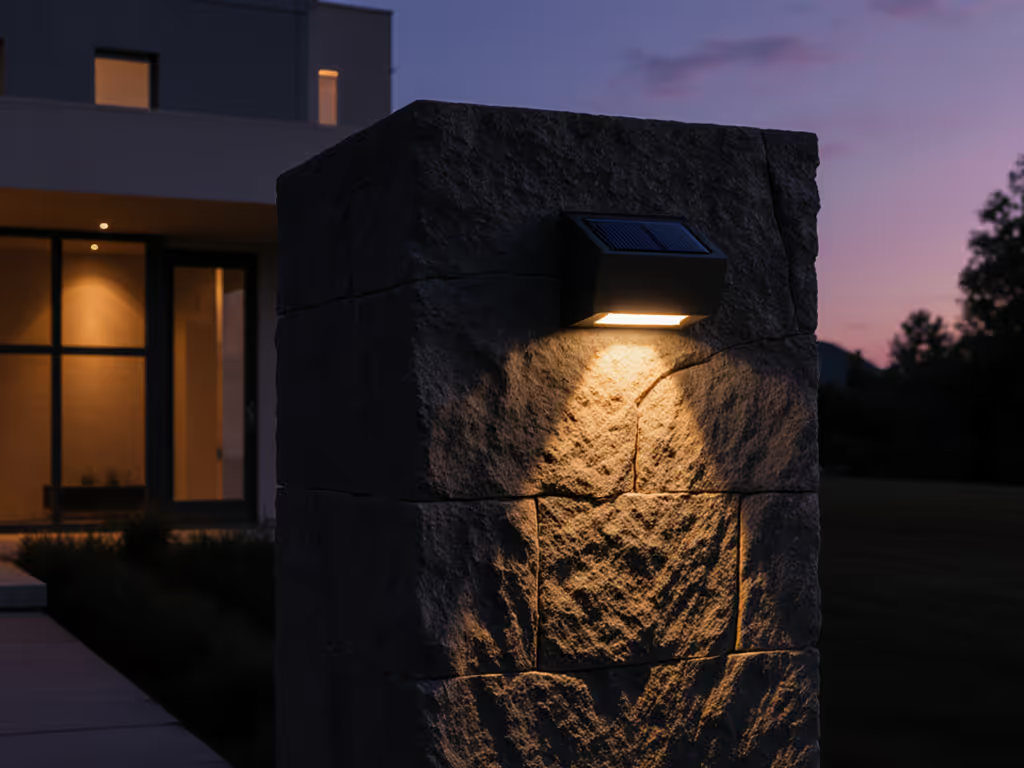
Where your wine garden paths meet steps, retaining walls, or stone edges, low-profile marker lights are safer and more neighbor-friendly than tall stakes.
What they are
- Small, often rectangular or half-moon fixtures that mount on step risers, low posts, or wall faces.
- Light is directed sharply downward to mark edges and hazards.
These designs align well with dark-sky recommendations by minimizing upward and outward spill.[7][8]
Best use in wine gardens
- Steps leading from patio to vineyard.
- Low walls around raised beds and terraces.
- Narrow walkways beside structures.
Pros
- Excellent glare control; you see the lit surface, not the bare LED.
- Typically have good IP ratings because housings are compact and easy to seal.[7]
- Very neighbor-friendly and wildlife-friendly.
Cons
- Panel area is limited, so run-time can drop in deep shade unless paired with a remote panel.
- Mounting is a bit more involved than pushing a stake in; you'll need basic tools.
Placement & spacing tips
- Place one on every step or pair of steps; don't skip risers.
- For walls and edges, think in terms of where the foot goes, aim for consistent pools of light every 3-6 feet.
- Use warm-white to keep hardscape textures looking inviting rather than stark.
For clients with strict HOA or dark-sky constraints, I often build a backbone of low-profile marker lights, then add modest path lights further out among plantings.
5. Budget Plastic Sets - Temporary or Low-Stakes Zones
There is a place for budget solar stakes in wine gardens, but it's not your main guest path.
What they are
- Lightweight plastic stakes sold in multi-packs, often with small panels and basic NiMH batteries.
- Very low cost per piece.[2]
Budget sets are popular because they're cheap and easy to deploy, but both lab testing and homeowner reviews consistently show shorter lifespans, weaker run-times after cloudy days, and more issues with cracked stakes and fogged lenses.[2][7][8]
Best use in wine gardens
- Temporary grape harvest lighting during a short season.
- Non-critical secondary paths where an occasional failure isn't a safety issue.
- Trial zones where you're still testing layout before investing in premium fixtures.
Pros
- Low upfront investment, good for experiments.
- Easy to move while you refine the layout.
Cons
- More prone to water ingress, material degradation, and poor winter performance.[7][8]
- Inconsistent color temperature and brightness across sets, which can disrupt a cohesive look.[2][7]
Placement & spacing tips
- Use them as "draft" lights: once you like the pattern and spacing, replace them gradually with metal, serviceable fixtures.
- Keep them away from high-traffic or liability areas (steps, steep slopes, and parking transitions).
If you do go this route, plan on these as a short-term solution. The most common complaint I hear is, "They were great for one season, then half died." Long-term, that's more waste and more hassle.
Layout & Micro-Siting for Wine Gardens and Vineyards
The same light can feel magical or annoying depending solely on where and how you place it.
Map the Sun and Shade First
Spend one clear day watching how sun moves through your wine garden:
- Mark full-sun stretches along paths and rows, these are ideal for integrated-panel stakes.
- Note partial-sun or mostly-shaded zones near tall vines, trees, or buildings, then flag these for remote-panel systems or lower expectations.
Simple site analysis pays off: independent testing finds that run-time depends heavily on exposure, and even good lights underperform in deep shade.[7][8]
Prioritize Safety Lines
Before you think about Instagram photos, get the safety basics right:
- Every step and sudden change in grade lit with marker or path lights.
- Crucial turns and T-junctions between house, tasting area, and parking.
- Edges near water features, drop-offs, or steep slopes.
Once safety lines are covered, you can layer in vineyard ambiance lighting among the vines and around seating.
Control Glare and Light Trespass
To keep your wine garden comfortable and neighbor-friendly:
- Avoid bare LEDs visible at eye level, use hats, louvers, or frosted lenses.
- Point fixtures away from neighboring properties and bedroom windows.
- Choose warmer CCT and lower lumens for areas immediately around seating.
Reviewers frequently rank fixtures with better glare control higher, even when output is lower, because the overall experience is more pleasant.[7][8]
Maintenance & Longevity in Real Weather
The goal is to install once, then do light upkeep, not a full redo every year. Use our step-by-step seasonal solar light maintenance guide to keep runtime and appearance consistent all year.
Seasonal Maintenance Routine
-
Spring
-
Clean panels with mild soap and water to remove winter grime.[7][8]
-
Check stakes for heaving, tilt, and damage from frost.
-
Mid-Summer
-
Trim foliage shading panels, especially on vine-row and arbor lights.
-
Confirm run-times still cover your evening schedule.
-
Fall (pre-harvest)
-
Clean panels again, dust and pollen from vines can substantially reduce output.[7]
-
Decide if you need supplemental or event-specific lighting for harvest gatherings.
-
Winter (where applicable)
-
Brush off snow if it crusts over panels.
-
Avoid using salt directly around stakes and fixtures.
When to Replace Batteries vs. the Whole Fixture
Well-designed solar fixtures often allow battery replacement; premium brands highlight this as part of their sustainability story.[7][9]
General rules of thumb:
- If the housing, lens, and seals are in good shape but run-time has dropped, replace batteries.
- If the body is cracked, hazed, or water has entered the electronics, replacement is usually more practical.
Given that independent tests show large durability differences between cheaply built and premium fixtures, investing upfront in serviceable designs reduces waste and replacement cycles over the long term.[7][8][9]
Next Steps: Map, Choose, and Install with Confidence
To turn all this into action, follow this straightforward plan:
-
Walk your wine garden at dusk
List where you truly need light: main paths, steps, tasting areas, and any hazards. -
Map sun vs. shade
Sketch your paths and rows and note which sections get solid sun vs. partial shade. -
Assign product types to zones
- Full-sun main paths -> premium metal path lights.
- Shaded rows/arbors -> remote-panel lights.
- Tasting terraces and feature paths -> bollard/pattern lights plus underlying safety lighting.
- Steps/edges -> low-profile marker lights.
- Temporary or experimental areas -> budget plastic sets (with a plan to upgrade).
-
Check specs against your climate
Prioritize IP65 or better, warm-white CCT, robust materials, and replaceable batteries for all-season reliability.[7][8][9] -
Install with anchoring in mind
Pre-drill tough soils, use gravel collars where frost is an issue, and double-check stake alignment before the ground hardens.
Once you've mapped zones and matched each to the right light type, you're no longer guessing, you're building a lighting system that fits how your wine garden grows and how you actually use it. Do that, and your solar path lights won't just look good on night one; they'll still be guiding guests through vines and arbors after the tenth storm and many harvests.
Related Articles